


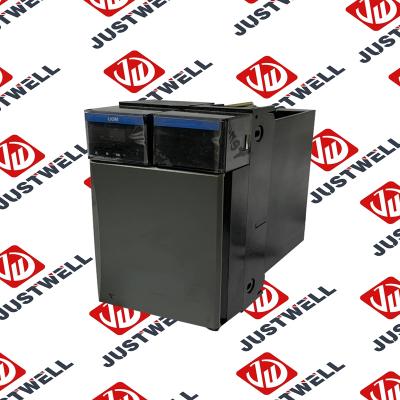
SST-PFB-CLX-RLL A-B Memory Board, Dynamic
Item NO.:
SST-PFB-CLX-RLLPayment:
T/TProduct Origin:
USAColor:
NewLead Time:
IN STOCKSST-PFB-CLX-RLL A-B Memory Board, Dynamic
Bulletin 509 starters are designed for full voltage voltage starting of polyphase squirrel cage motors. These starters meet NEMA standards, are easy to wire and service, simple to select, and offer Class 10, 15, 20, and 30 overload protection in the complete range of NEMA sizes 00 to 9. These starters may be operated with push buttons, float switches, thermostats, pressure switches, snap switches, limit switches, or any other suitable two or three wire pilot device. All Bulletin 509 starters are available with Bulletin 592 eutectic alloy overload relays as well as Smart Motor Protectors (SMPs) - Solid-state Overloads for additional flexibility in motor protection.
When severe contact wear is evidenced, it is recommended that all contacts be replaced, which will guard against uneven contact closings. Be sure to check contact spring flexibility and replace if necessary. Order the required number of single pole contact sets from the part listings on Page 3. Follow steps 1--5 under Disassembly
The replacement overload relay for size 5 will be furnished secured to a mounting plate. Remove and discard the mounting plate. Install the replacement overload relay being sure the bus connects properly to the terminals on the stationary contact block and base assembly. Secure the overload relay to the mounting plate with the two previously removed screws with washers.
Turn the module back over and slide the load terminals out of the transformer. The current transformer spring (Item 17A) and current transformer can now be removed from the module. Note the position of the spring before removing. The replacement current transformer and spring are placed into the module so that the rectangular holes in the center of the spring and transformer are aligned and the spring is below the transformer, concave side facing up. Slide the load terminal through the transformer so that the load terminal lug is on the same side and in the same direction as the other load terminal lugs. Turn the module over and refasten the 5/16 in.-24 ¢ 1-1/4 in. screw (torque to 50 lbs.-in) and the 10-32 ¢ 3/4 in. screw (torque to 30 lbs.-in.) to the load terminal. Turn the module over (right side up) and refasten the 3/4 in. ¢ 1-9/6 in. nylon standoff to the load terminal torque to 16 lbs.-in.) 8. Refasten the wiri
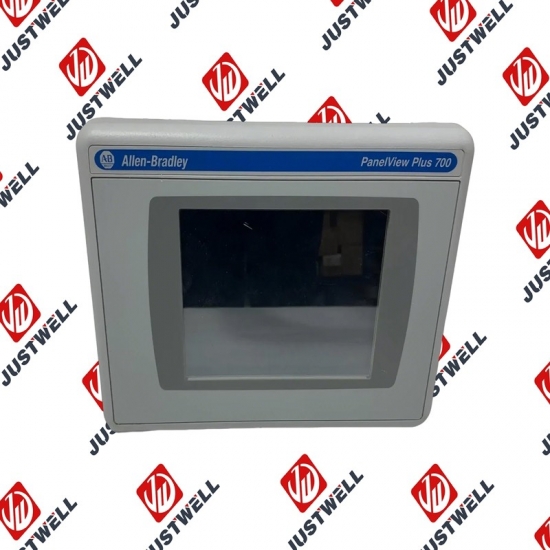
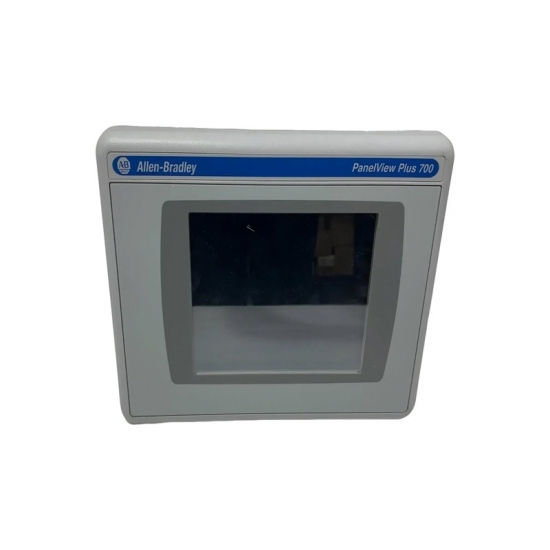
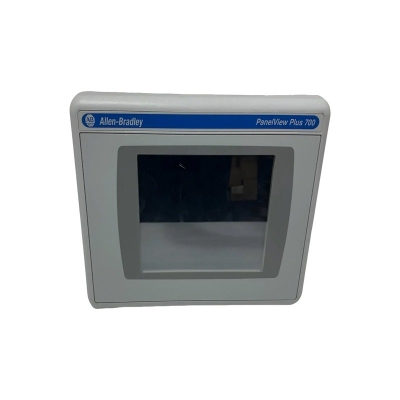
The structure and details of the product:
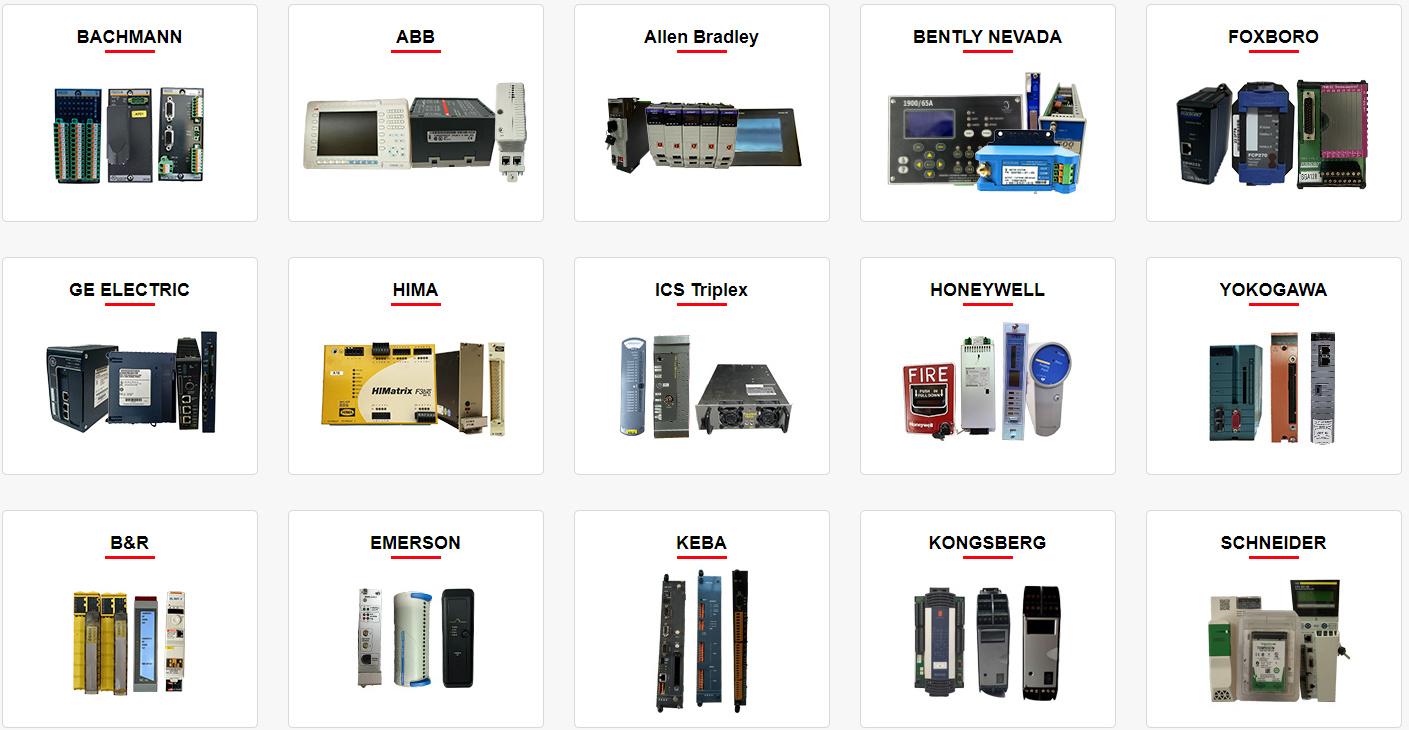 Please make an inquiry for more models
AB 1756-LSP
AB 1756-LSP/B
AB 1756-M02AE
AB 1756-M02AS
AB 1756-M03SE
AB 1756-M08SE
AB 1756-M1
AB 1756-M16S
AB 1756-M16SE
AB 1756-N2
AB 1756-OA16
AB 1756-OA16I
AB 1756-OB16D
AB 1756-OB16E
AB 1756-OB16I
AB 1756-OB16I/A
AB 1756-OB16IEF
AB 1756-OB16IS
AB 1756-OB32
AB 1756-OB32/A
AB 1756-OB8
AB 1756-OF4
AB 1756-OF41794-ADN
AB 1756-OF6CI
AB 1756-OF6VI
AB 1756-OF8
AB 1756-OF8/A
AB 1756-OF81
AB 1756-OG16
AB 1756-OH8I
AB 1756-ON8
AB 1756-OV16E
AB 1756-OV32E
AB 1756-OW16I
AB 1756-OW16I/A
AB 1756-OX8I
AB 1756-PA72
AB 1756-PA72/B
AB 1756-PA72/C
AB 1756-PA75
AB 1756-PA75/A
AB 1756-PA75/B
AB 1756-PA75R
AB 1756-PAR2
AB 1756-PB72
AB 1756-PB75
AB 1756-PB75R
AB 1756-PBR2
AB 1756-PC75
AB 1756-PLS
AB 1756-PSCA2/A
AB 1756-RM
AB 1756-RM2
AB 1756-RM2/A
AB 1756SC-CTR8
AB 1756-SRM/B
AB 1756-TBCH
AB 1756-TBNH
AB 1756-TBS6H
Other best-selling products:


Rockwell Automation announces that as of December 31, 2025, the Kinetix 0.1-0.1m Fiber Optic Ca...
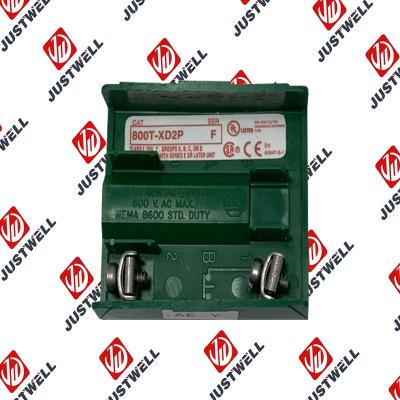
Rockwell Automation announces that as of December 31, 2019, the 30mm Contact Block 1-NC 800T PB...
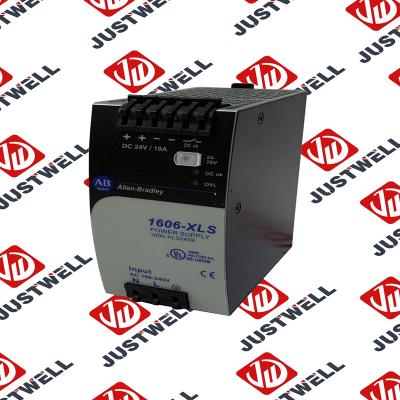
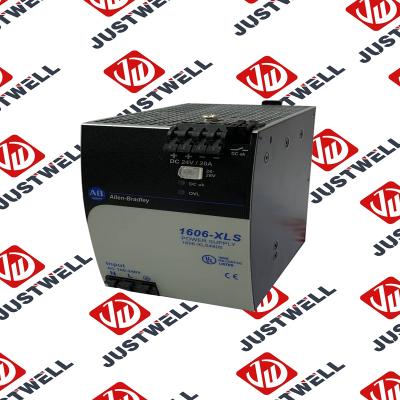
A-B 1606-XLS240E Processor module 24V,10A Single Phase Input Those responsible for the application a...
This document is the original document. All rights to this documentation are reserved by Pilz GmbH &...
Representative Photo Only (actual product may vary based on configuration selections)
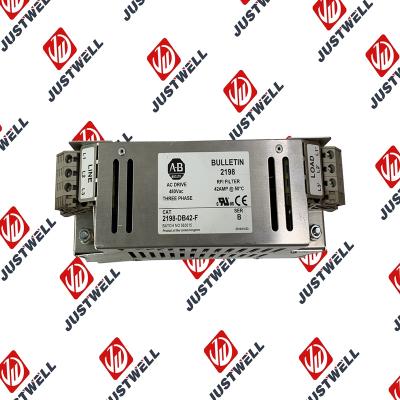
Power Supply, 480 W, 24V DC, No Special Function, Performance Family, Global Input Voltage This prod...
Rockwell Automation announces that as of December 31, 2025, the Kinetix Safe Off Header Connect...
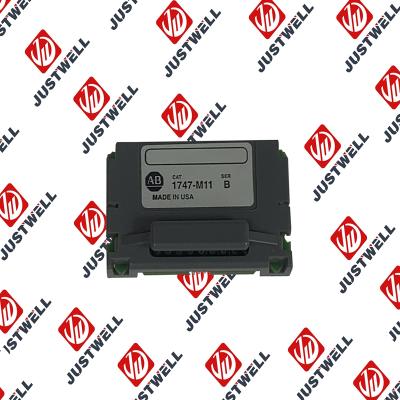
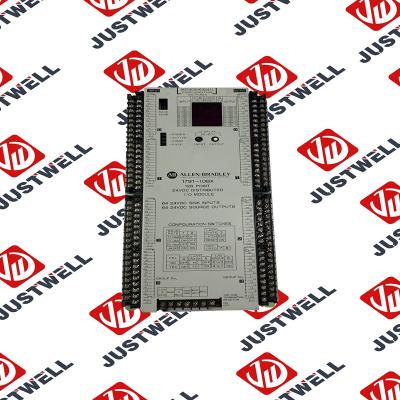
Troubleshooting and Product Information for 1747-M11 Download product information, troubleshooting g...

 IPv6 network supported


